Create a WhatsApp or email campaign in Linkubit
Create a campaign, choose its audience, build a sequence of steps that stops when someone replies, set a schedule, and start it.
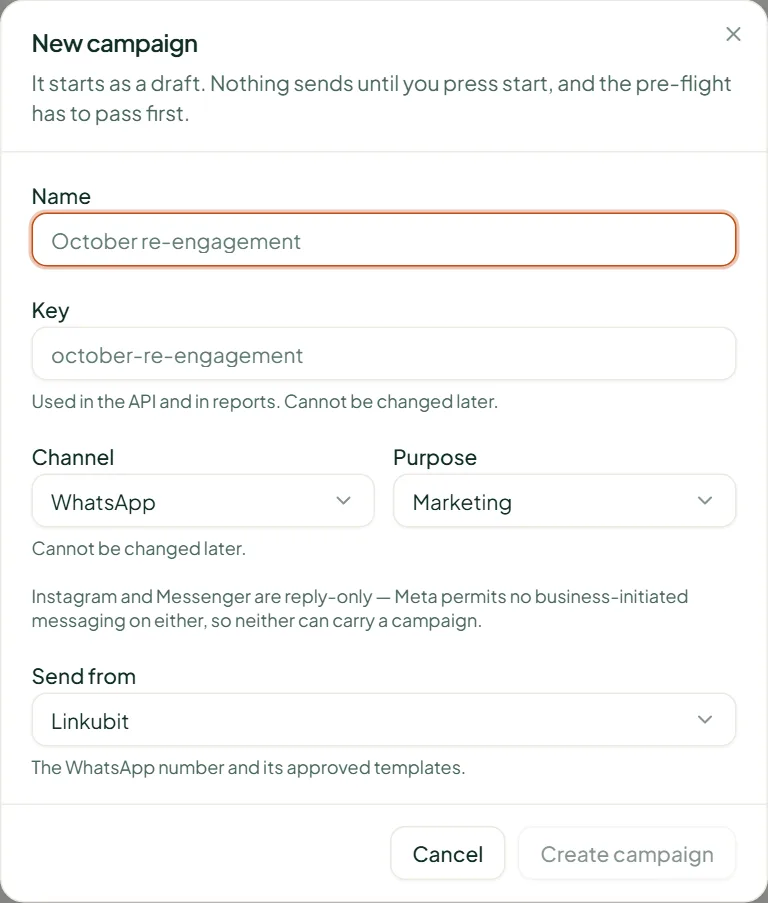
Open Campaigns and press New campaign. Choose the channel (it can't be changed later) and the purpose, pick an audience, add steps — approved templates on WhatsApp, subject and body on email — set the schedule and press Start campaign. A reply stops the rest of the sequence. Each message costs 0.1 credit. Starter and up.
Steps
- Campaigns › New campaign: a name, a key, the Channel (WhatsApp or Email) and the Purpose (Marketing or Service), and Send from — your number or mailbox. Channel and key cannot be changed later.
- Audience — choose an audience (built in Audiences from contacts, a file, or typed in).
- Sequence — Add step for each message. The first runs at once, later ones default to 72 hours apart. On WhatsApp, Pick an approved template; on email, write a subject and body. Only send this step if adds a condition.
- Schedule — start and end, Enrolment (once, or every day for whoever newly qualifies), days and hours to send, and Most per day.
- Read the Pre-flight card, then Start campaign.
Consent and limits are checked on every message
A contact who opted out, is suppressed or blocked is skipped, and a member waits rather than fails when your number or mailbox reaches its daily limit — see Why a campaign is waiting.
Related
Stuck? Write to help@linkubit.com with the screen you are on and what it says. Not using Linkubit yet? Start free — fourteen days of Pro, no card.